
Investing in new windows is a significant home improvement decision, and proper maintenance is crucial to protect that investment. Whether you've installed wood, vinyl, fiberglass, aluminum windows, or Fibrex®, appropriate care ensures optimal performance, energy efficiency, and longevity. This comprehensive guide covers everything from immediate post-installation care to long-term maintenance strategies, helping you avoid costly repairs and replacements. By following these expert recommendations, you'll not only preserve your windows' functionality and appearance but also maintain your warranty coverage and enhance your home's overall value.
Immediate Care for Newly Installed Windows
The first few weeks after installation represent a critical period for your new windows, particularly for wood varieties. During this time, windows are most vulnerable to damage from environmental factors, and proper care now can prevent significant issues later.
For wood windows, immediate finishing is non-negotiable. Bare or primed wood quickly absorbs moisture and suffers UV damage if left unprotected, potentially leading to warping, rotting, and premature failure. Remember that primers alone offer minimal protection—they're designed to maximize paint adhesion, not provide long-term defense against the elements.
Most manufacturers explicitly state that failure to properly finish wood windows will void your warranty, making this step essential for protection both physical and financial. Before applying any finish, thoroughly clean all surfaces to remove handling marks, installation dust, and debris.
For bare wood, lightly sand with fine-grit sandpaper (220 or 320) to ensure a smooth finish that accepts paint or stain evenly. Ensure all surfaces are completely dry before proceeding—moisture trapped under paint or stain will cause bubbling and peeling.
When painting or staining, position sashes or panels open or remove them entirely to access all surfaces, allowing each to dry thoroughly before closing or reinstalling.
Apply masking tape approximately 1/16" from the wood edge to allow paint to form a proper seal against the glass while maintaining a clean appearance.
Always use high-quality products: a premium primer followed by two coats of quality oil-based or latex paint, or an appropriate stain with protective topcoat.
Take care to protect non-wood components like weather stripping, vinyl, metal, or hardware from contact with finishes, as solvents can cause damage.
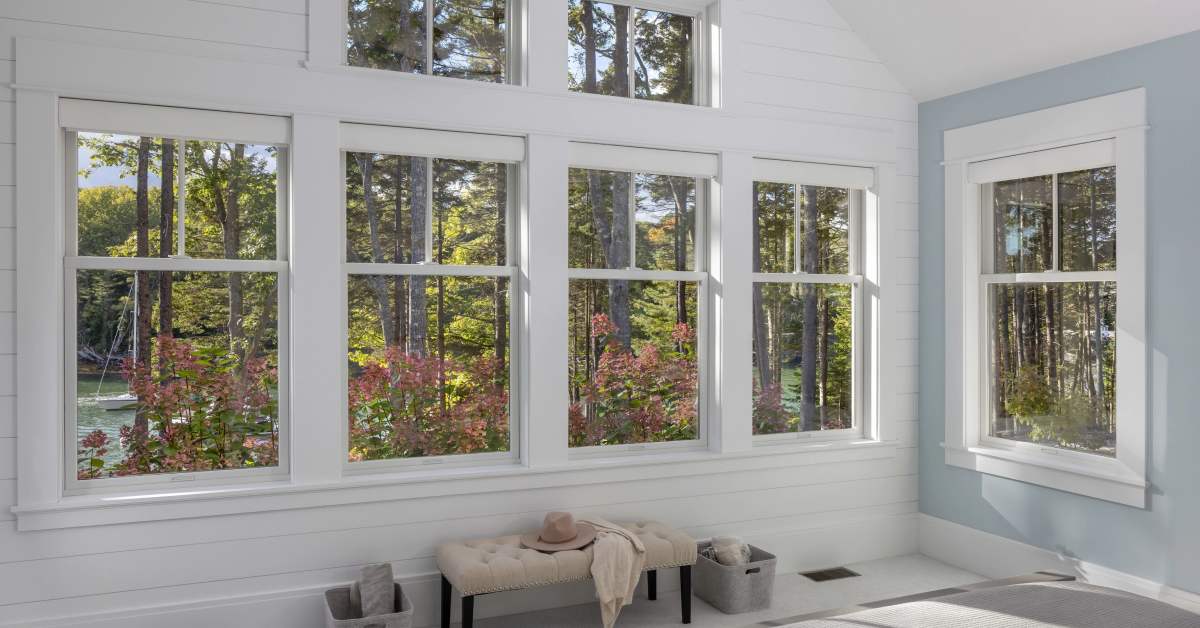
Routine Cleaning and Upkeep for All Window Types

Regular cleaning is fundamental to window maintenance, preventing buildup that can damage components and ensuring smooth operation throughout the year.
- For glass panes, establish a consistent cleaning schedule: weekly for interior surfaces and monthly for exterior, increasing frequency in areas with extreme weather or salt spray.
- Use gentle cleaning agents like commercial glass cleaner or a simple solution of white vinegar and water. Microfiber cloths are ideal for avoiding scratches; never use abrasive materials like steel wool or scouring pads that can permanently damage glass surfaces.
- Window tracks and sills require special attention as they collect dust, dead insects, and debris that can impede function. Clean these areas every two to three months by first vacuuming loose debris, then wiping with a cloth dampened with vinegar or mild cleaner.
- For windows that stick after cleaning, apply a silicone-based lubricant—never use oil-based products like WD-40, which attract dirt and can degrade track materials over time.
- Window screens should be cleaned at least annually, more often in high-pollen or dusty environments. Remove screens, vacuum loose dust, then wash with mild dish soap and warm water. Rinse thoroughly and allow to dry completely before reinstallation to prevent mold or mildew growth.
- Frame maintenance varies by material but generally requires weekly interior dusting and monthly exterior cleaning. For all frame types, use gentle cleaners like diluted dish soap or white vinegar solutions.
- Vinyl frames can discolor if exposed to harsh chemicals, while wood frames require special attention to prevent moisture damage.
- Aluminum frames benefit from regular cleaning to prevent oxidation, particularly in coastal environments where salt exposure accelerates corrosion.
Visual Inspection Checklist: What to Look For
Developing a systematic approach to window inspections can help identify potential issues before they become serious problems.
- Begin by examining the glass for cracks, chips, or fogging between panes—the latter indicates seal failure in double or triple-glazed units.
- Inspect frames for structural integrity, looking for cracks, warping, or rot in wooden frames, and discoloration or brittleness in vinyl frames.
- Pay close attention to paint or finish quality, noting any chipping, peeling, or blistering, especially on wooden components where such damage can quickly lead to moisture penetration.
- Carefully examine seals and caulking around the window perimeter and between frame and glass, looking for gaps, cracks, or shrinkage that could allow air or water infiltration.
- Test all hardware components including locks, handles, and cranks for proper function and security. Open and close each window fully to assess operation—any sticking, resistance, or misalignment warrants further investigation.
- Finally, look for evidence of moisture intrusion such as water stains, mold, or mildew around window frames or on adjacent walls, which may indicate leaks requiring immediate attention.
- Document your findings with photos and notes to track changes over time and prioritize maintenance tasks effectively.
DIY Fixes for Common Minor Issues
Many window maintenance tasks can be handled without professional assistance, saving time and money while preventing small issues from escalating.
For minor glass cracks or chips, commercial glass repair kits provide an effective temporary solution until replacement is possible. These typically include special resins that fill and seal small damages, preventing further cracking.
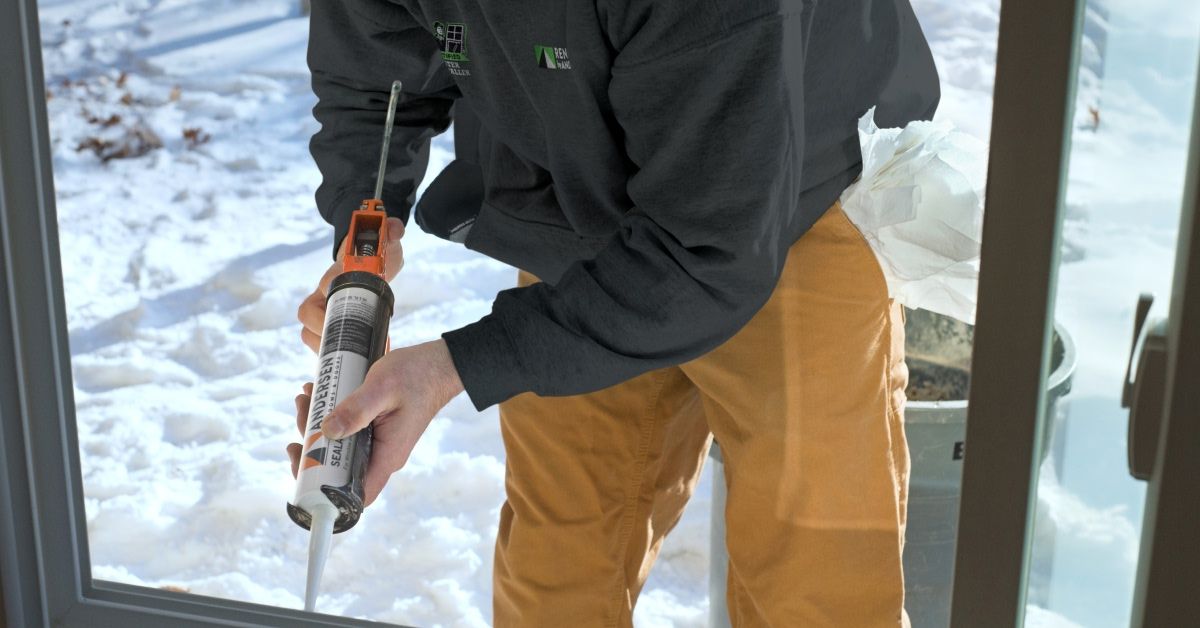
Re-caulking and weatherstripping represent the most common and beneficial DIY maintenance tasks.
- Start by identifying problem areas—look for visible gaps or feel for drafts, particularly at bottom corners or where windows meet siding.
- Choose high-quality, paintable exterior caulk and appropriate weatherstripping for your window type. Before application, completely remove old materials using a putty knife or caulk removal tool, then clean surfaces thoroughly with rubbing alcohol to ensure proper adhesion.
- Apply new caulk in a continuous bead, smoothing with a wet finger or specialized tool for a professional finish. For weatherstripping, measure carefully before cutting to ensure proper fit, and follow product-specific installation instructions.
Wood frame touch-ups should be addressed promptly to prevent moisture damage. Clean the affected area, lightly sand any rough or peeling paint, apply primer to bare spots, and finish with matching exterior paint.
For operational issues, first clean tracks thoroughly, then apply silicone lubricant sparingly to rollers and sliding mechanisms. Adjust hardware as needed, tightening loose screws and replacing damaged components.
Remember that regular maintenance prevents more costly repairs—addressing small issues immediately typically requires minimal time and expense compared to major restoration work.
Special Maintenance for Coastal or Extreme Weather Environments

Windows in coastal areas or regions with extreme weather conditions require enhanced maintenance protocols to combat accelerated deterioration.
- In coastal environments, salt spray creates a particularly challenging situation, forming a corrosive film on all window surfaces.
Increase cleaning frequency significantly—rinse exterior windows with fresh water weekly if possible, and perform thorough cleaning with vinegar solutions quarterly.
Pay special attention to metal components, particularly aluminum frames and hardware, which are highly susceptible to salt-induced corrosion.
Apply protective coatings designed specifically for marine environments to metal surfaces, following manufacturer recommendations for reapplication schedules. - For homes in areas with extreme temperature fluctuations, inspect weatherstripping and seals more frequently, as thermal expansion and contraction can accelerate deterioration.
Replace damaged weatherstripping promptly to maintain energy efficiency and prevent moisture infiltration. - In regions with heavy precipitation, ensure water drainage channels and weep holes remain clear of debris, allowing proper drainage and preventing water accumulation that could damage frames or leak into wall cavities.
- For areas with intense sun exposure, consider applying UV-protective films to glass and using UV-resistant paints or finishes on frames to prevent premature fading and deterioration.
- In hurricane-prone regions, regularly inspect impact-resistant windows for seal integrity and proper operation of hurricane shutters or panels if installed.
- Homes in desert environments should address sand and dust accumulation more frequently, as these particles can damage moving parts and seals when allowed to build up.
Regardless of your specific environmental challenges, increasing inspection frequency and addressing issues immediately will significantly extend window lifespan in these demanding conditions.
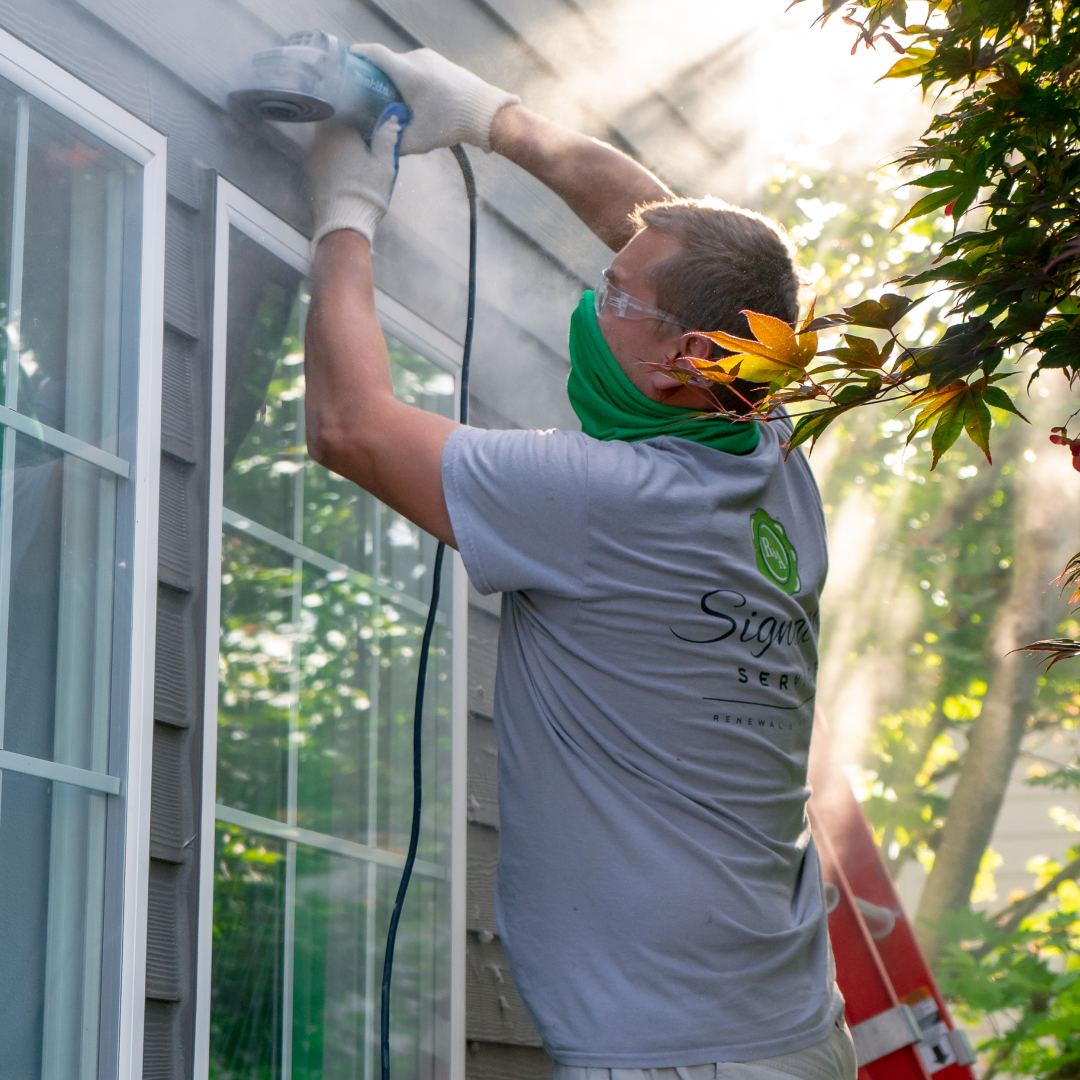
Repainting and Refinishing Exterior Wood Frames
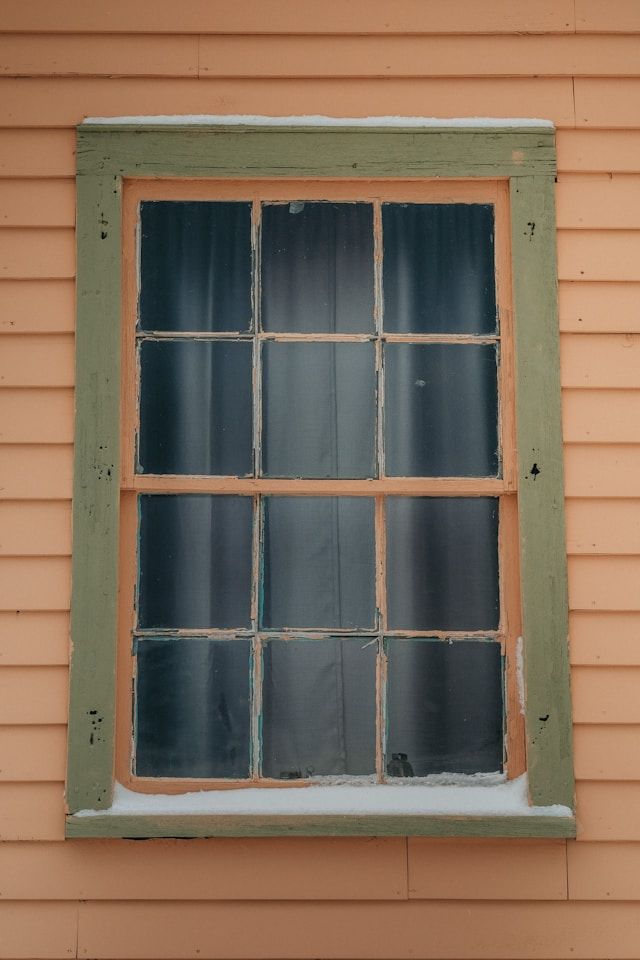
Wood windows require periodic refinishing to maintain their beauty and structural integrity, with frequency depending on exposure and climate conditions.
In most environments, exterior wood frames need repainting or refinishing every 3-7 years, though harsh conditions may necessitate more frequent attention.
- Begin by evaluating the current finish condition—look for cracking, peeling, blistering, or areas where wood has become exposed. Before refinishing, proper preparation is essential.
- Remove loose or failing paint using a scraper or heat gun, being careful not to damage the wood surface.
- For severely deteriorated finishes, consider chemical strippers, following safety precautions and manufacturer instructions.
- Once loose paint is removed, sand surfaces with progressively finer sandpaper (starting with 80-100 grit and finishing with 220 grit) to create a smooth base for new finishes.
- Address any wood damage before proceeding—small areas of rot can be repaired with wood hardeners and epoxy fillers designed for exterior use.
- After repairs, thoroughly clean all surfaces with a mild detergent solution, rinse completely, and allow to dry for at least 24 hours.
- Apply high-quality exterior primer to all bare wood, ensuring complete coverage of exposed areas.
- Once primer has dried according to manufacturer specifications, inspect for any remaining imperfections and spot-sand as needed.
- Apply two coats of premium exterior paint or finish, allowing proper drying time between coats.
- Choose products specifically formulated for exterior wood windows, with UV protection and mildew resistance.
- Pay special attention to horizontal surfaces and joints where water tends to collect.
- Avoid painting weatherstripping, hardware, or moving parts that could impede window operation.
- For stained finishes, select exterior-grade stains with built-in sealers, or apply separate clear protective topcoats designed for exterior use.
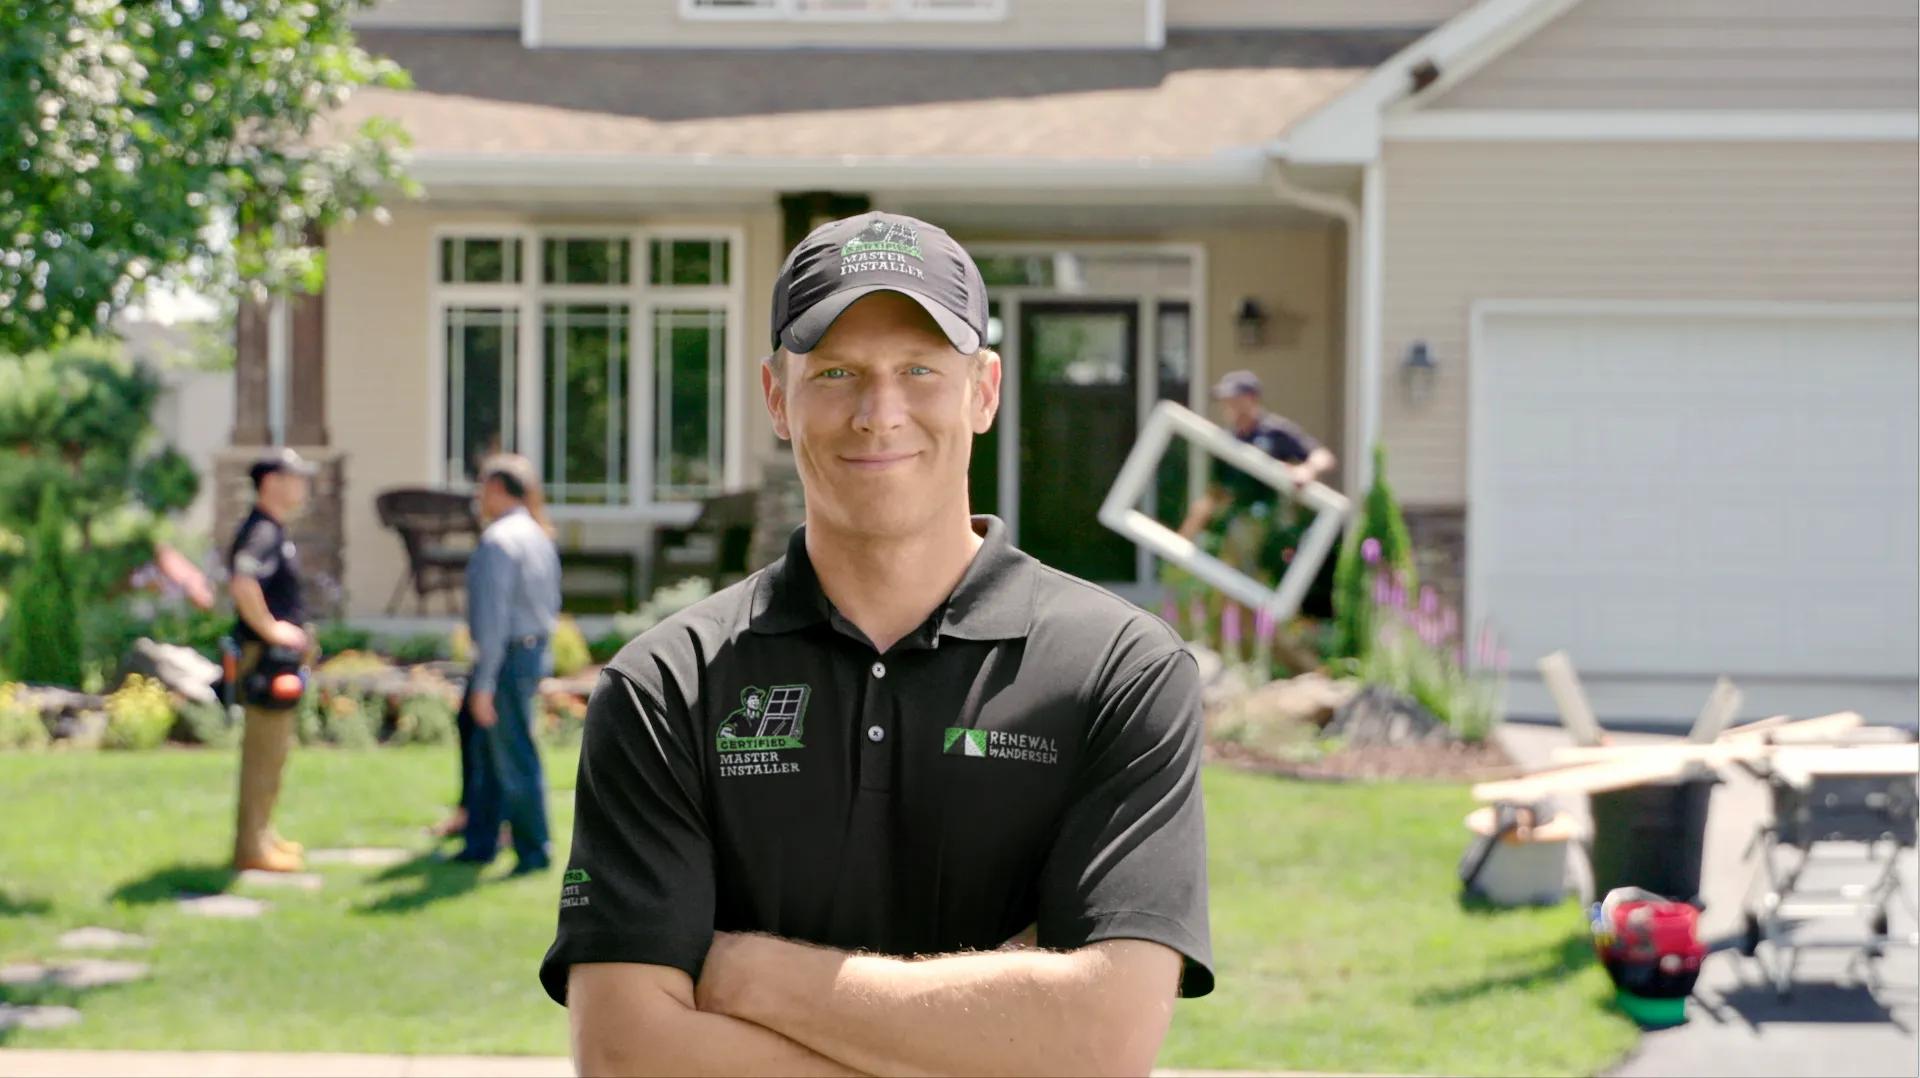
While many maintenance tasks can be handled independently, certain situations warrant professional intervention. Understanding when to call in experts can save time, prevent further damage, and ensure proper repairs that maintain warranty coverage.
Consider professional assistance for large cracks or completely broken panes, which require precise measurements and specialized tools for safe removal and replacement.
Suspected structural issues or significant rot in wooden frames should be evaluated by professionals who can determine the extent of damage and recommend appropriate repairs or replacement.
Misaligned windows that no longer open or close properly may indicate foundation settling or frame warping that requires expert assessment.
Fogging between panes indicates seal failure in insulated glass units, requiring professional replacement of the glass assembly while preserving the existing frame.
Hardware replacement often seems straightforward but can be complex, particularly with newer window systems that integrate multiple functions—professionals ensure proper installation and adjustment for optimal performance.
Professional window services typically offer comprehensive inspections that identify issues homeowners might miss, including hidden water damage, early signs of seal failure, or structural concerns.
These inspections generally cost between $150-$300 but can prevent much costlier repairs by catching problems early.
For repairs, expect to pay $200-$600 on average depending on the issue, window type, and size, though complex problems or custom windows may cost more.
When selecting a window professional, look for specialists with specific experience with your window type and brand, proper licensing and insurance, and warranty coverage for their work.
Many manufacturers maintain lists of authorized service providers who are trained specifically on their products—using these professionals often preserves warranty coverage that might be voided by unauthorized repairs.
For older or historic windows, seek specialists with restoration experience rather than general contractors who might default to replacement recommendations.
What NOT To Do: Avoiding Common Maintenance Mistakes
Even well-intentioned maintenance efforts can cause damage when improper techniques or materials are used. Avoiding these common mistakes will protect your windows and preserve their functionality.
- Never use abrasive cleaners, scouring pads, or harsh chemicals on any window component. These can permanently scratch glass, damage protective finishes on frames, and degrade seals and weatherstripping.
- Avoid high-pressure washing, which can force water into seals and cause leaks or damage caulking.
- Resist the temptation to paint over moving parts, hardware, or weatherstripping—this common mistake impedes window operation and can damage components when windows are forced open or closed.
- For wood windows, never neglect immediate painting or finishing after installation. This critical error leaves wood vulnerable to moisture and UV damage, potentially voiding warranties and significantly shortening window lifespan.
- Don't ignore small issues until they escalate—minor, easily fixable problems like failing caulk or small paint chips can quickly develop into major repairs if left unaddressed.
- Avoid using incorrect lubricants on tracks and hardware; specifically, never use oil-based products like WD-40 on window tracks, as they attract dirt and can damage vinyl and other components.
- Steer clear of DIY glass replacement for insulated units—improper installation compromises energy efficiency and may lead to condensation between panes.
- Never force stuck windows open or closed, as this can break hardware, crack glass, or damage frames; instead, identify and address the underlying cause of sticking.
- Avoid using interior-grade paints or finishes on exterior window components, as these lack the weather resistance needed for outdoor exposure.
- Don't remove manufacturer labels or information until after final inspection and approval, as these contain important warranty and performance data.
- Finally, resist the urge to over-caulk, which can block drainage channels and weep holes designed to allow water to escape, potentially trapping moisture and causing damage.
Your windows represent a significant investment in your home's comfort, efficiency, and appearance. Don't wait until problems develop to implement proper maintenance practices.
Start today by conducting a thorough inspection using our visual checklist, addressing any immediate concerns, and creating a regular maintenance schedule.
For professional assistance with complex issues or comprehensive inspections, contact a qualified window specialist in your area. Many window companies offer maintenance services or can recommend approved contractors familiar with your specific window type.
Remember that proactive maintenance not only extends window life but also preserves energy efficiency and enhances your home's value. Take action now to protect your investment!
Proper window maintenance is an essential aspect of responsible homeownership that pays dividends in longevity, performance, and value retention.
By following the guidelines outlined in this comprehensive guide, you can significantly extend the life of your windows while ensuring they continue to function efficiently and enhance your home's appearance.
Remember that different window materials and environmental conditions require tailored approaches—what works for vinyl windows in a temperate climate may be insufficient for wood windows in coastal areas.
Establish a regular maintenance schedule that includes cleaning, inspection, and preventative repairs, adjusting frequency based on your specific circumstances.
When issues arise, address them promptly to prevent escalation and more costly interventions. While many maintenance tasks are suitable for DIY approaches, recognize when professional assistance is warranted and don't hesitate to seek expert help for complex problems.
With proper care, your windows will continue to provide beauty, comfort, and protection for many years to come, maximizing your return on investment and contributing to your home's overall performance and value.
